



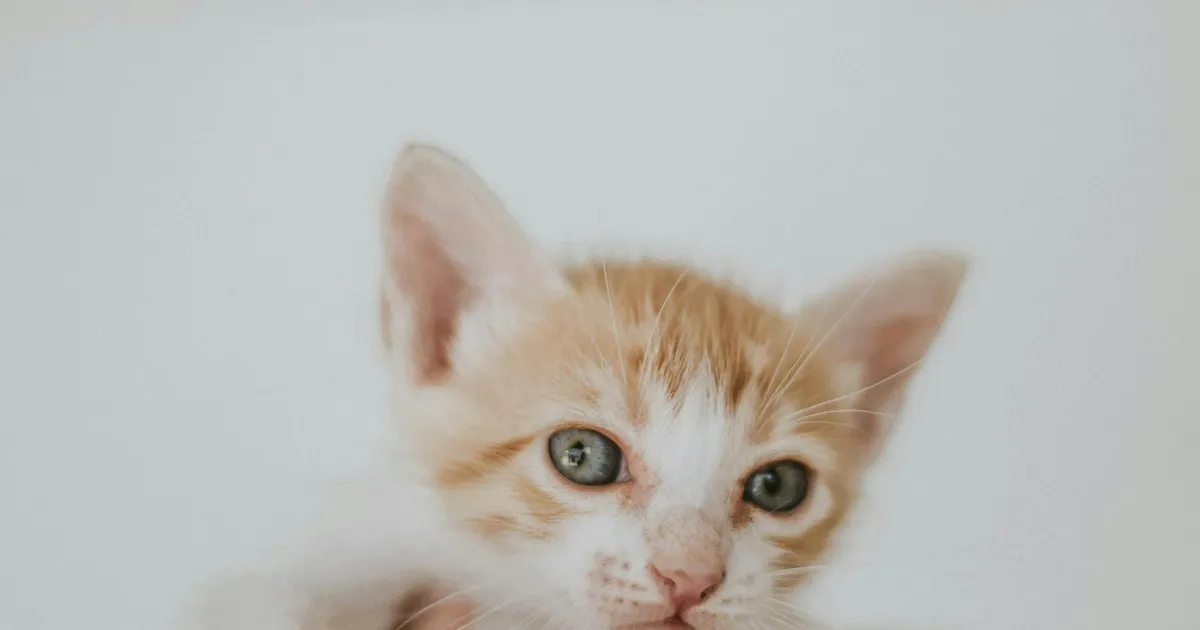


Ear cleaning for domestic kittens is a crucial part of their overall hygiene and well-being. A buildup of wax, dirt, and debris in a kitten’s ears can lead to discomfort, irritation, and even infections. While cats are generally meticulous groomers, they often need assistance with ear cleaning, especially in their early months. This article provides a comprehensive guide to safe and effective methods for cleaning your kitten’s ears, ensuring their health and comfort in 2026. Remember, a gentle and patient approach is essential to make this a positive experience for your furry friend.
Why Kitten Ear Cleaning Matters
Regular ear cleaning helps prevent ear infections and other ear-related problems. Kittens, in particular, are susceptible to ear mites and yeast infections due to their developing immune systems. By routinely checking and cleaning their ears, you can identify potential issues early and seek veterinary care if necessary. Neglecting ear hygiene can lead to painful inflammation, discharge, and even hearing loss in severe cases. Addressing this aspect of their care from a young age helps establish good hygiene habits that will benefit them throughout their lives.
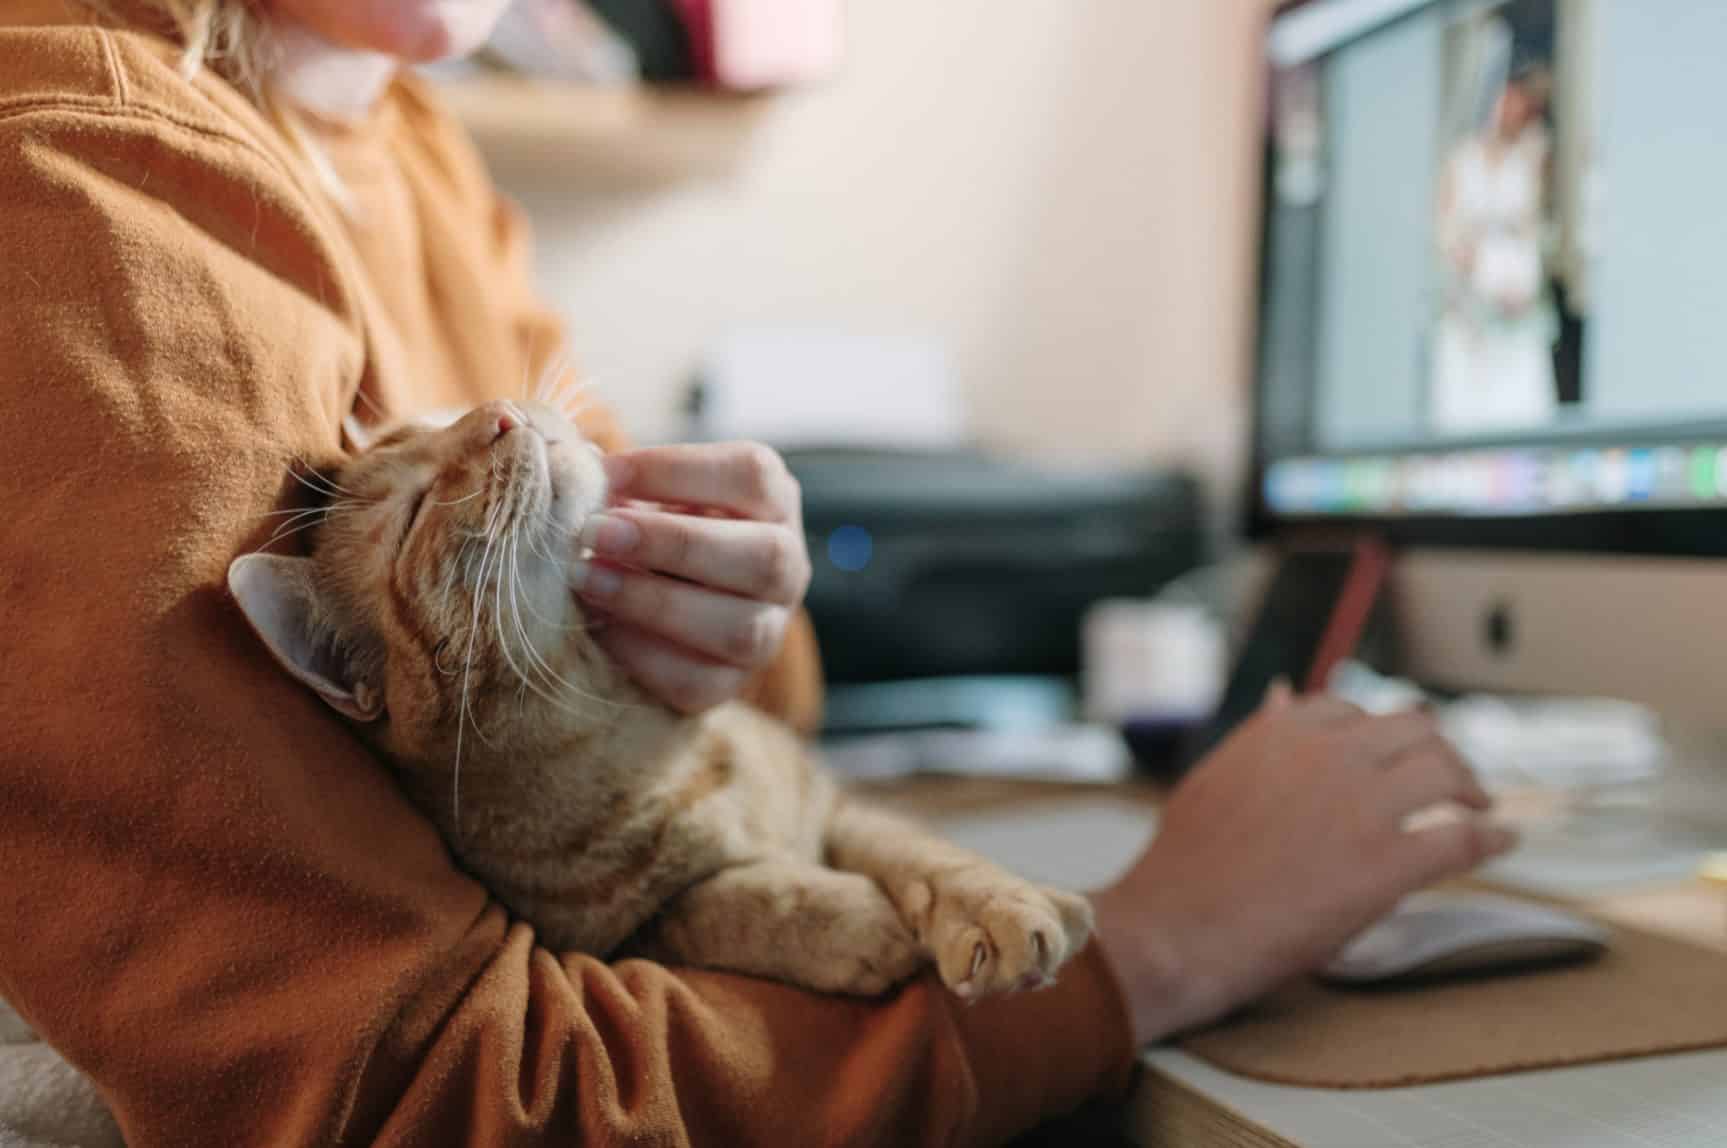
Furthermore, ear cleaning provides an opportunity to bond with your kitten. A gentle ear cleaning session, accompanied by soothing words and positive reinforcement, can strengthen your relationship. It also allows you to become more familiar with your kitten’s body, making it easier to spot any other health concerns that may arise. It’s important to consult with your veterinarian about how often ear cleaning should occur, as frequency depends on individual kitten needs and breed predispositions. Making ear cleaning a regular part of your routine promotes overall well-being for your kitten within your household.
Supplies You’ll Need
Before you begin, gather the necessary supplies. You’ll need a gentle ear cleaning solution specifically formulated for cats; never use human ear cleaning products, as they may contain ingredients that are harmful to kittens. Soft cotton balls or gauze pads are essential for wiping away debris. Avoid using cotton swabs (Q-tips) inside the ear canal, as they can push wax and debris further in and potentially damage the eardrum. Have some treats on hand to reward your kitten after the cleaning session.
Creating a calm and comfortable environment is also important. Choose a quiet space where your kitten feels safe and secure. A soft towel or blanket can provide a comfortable surface for them to lie on. Ensure you have good lighting to allow you to clearly see inside the ear canal. Being prepared with all the necessary supplies and a relaxing atmosphere will make the ear cleaning process smoother and more enjoyable for both you and your kitten. Remember to speak in a soothing voice throughout the process to reassure your kitten.
Step-by-Step Cleaning Guide
Begin by gently holding your kitten in a comfortable position, either on your lap or on a stable surface. Inspect their ears for any signs of redness, swelling, discharge, or foul odor. If you notice any of these symptoms, consult with your veterinarian before attempting to clean the ears. If the ears appear healthy, moisten a cotton ball or gauze pad with the ear cleaning solution. Gently wipe the visible parts of the ear, including the outer ear and any creases or folds.
Carefully lift the ear flap to gain better access to the ear canal. Avoid inserting the cotton ball or gauze pad too deeply. Gently wipe away any visible debris or wax, repeating as needed with a fresh cotton ball or gauze pad each time. Avoid applying excessive pressure or rubbing vigorously. Once you’ve cleaned both ears, reward your kitten with a treat and plenty of praise. Monitor their ears for any signs of irritation or discomfort after cleaning. If you are concerned, seek veterinary advice. Remember that patience and a gentle touch are key to successful ear cleaning in kittens.
When to See a Vet
While regular ear cleaning is beneficial, it’s essential to recognize when a veterinary visit is necessary. If you notice excessive scratching, head shaking, or rubbing of the ears, it could indicate an infection or ear mite infestation. Other signs include redness, swelling, discharge (especially if it’s dark, crusty, or foul-smelling), and pain upon touching the ears. Any of these symptoms warrant a prompt visit to your veterinarian for diagnosis and treatment.
Potential Problems and Solutions
One common problem encountered during ear cleaning is resistance from the kitten. Some kittens are simply not fond of having their ears touched, and may try to wriggle away or scratch. To address this, start slowly and gradually acclimate your kitten to having their ears handled. Begin by gently touching and rubbing their ears for short periods, rewarding them with treats and praise each time. Gradually increase the duration of the handling sessions, eventually introducing the ear cleaning solution and cotton balls.
Another potential issue is over-cleaning, which can irritate the delicate skin lining the ear canal. Avoid cleaning your kitten’s ears too frequently, as this can disrupt the natural balance of oils and increase the risk of infection. Generally, cleaning once or twice a month is sufficient for most kittens, unless otherwise directed by your veterinarian. Always use a gentle ear cleaning solution specifically formulated for cats, and avoid using harsh chemicals or alcohol-based products.
Long-Term Ear Care Strategies
Establishing a consistent ear care routine from a young age can help prevent future ear problems. Regularly inspect your kitten’s ears for any signs of abnormalities, such as redness, swelling, or discharge. Provide a well-balanced diet to support their immune system and overall health. Consider supplementing their diet with omega-3 fatty acids, which can help reduce inflammation and promote healthy skin and coat. Maintaining proper grooming habits, including regular brushing, can also help prevent debris from accumulating in the ears.
Additionally, be mindful of environmental factors that can contribute to ear problems. Avoid exposing your kitten to excessive moisture or humidity, as this can create a breeding ground for bacteria and yeast. Dry their ears thoroughly after bathing or swimming. Consider using a hypoallergenic shampoo and conditioner to minimize the risk of skin irritation. By implementing these long-term ear care strategies, you can help keep your kitten’s ears healthy and comfortable for years to come. In 2026, proactive care is key to your pet’s lasting health.
Key Takeaways
- Regular ear cleaning is essential for kitten hygiene and preventing ear problems.
- Use a gentle ear cleaning solution specifically formulated for cats.
- Avoid using cotton swabs inside the ear canal.
- Inspect your kitten’s ears regularly for signs of infection or irritation.
- Establish a consistent ear care routine from a young age.
- Consult with your veterinarian if you have any concerns about your kitten’s ear health.
Frequently Asked Questions
How often should I clean my kitten’s ears?
The frequency of ear cleaning depends on your kitten’s individual needs and breed. Most kittens benefit from cleaning once or twice a month, but consult with your veterinarian for personalized recommendations. Some breeds with floppy ears may require more frequent cleaning.
What are the signs of an ear infection in kittens?
Signs of an ear infection include excessive scratching, head shaking, rubbing of the ears, redness, swelling, discharge, and foul odor. If you notice any of these symptoms, consult with your veterinarian.
Can I use human ear cleaning products on my kitten?
No, never use human ear cleaning products on your kitten. They may contain ingredients that are harmful or irritating to cats. Always use a gentle ear cleaning solution specifically formulated for cats. This recommendation is true as of 2026.
How can I make ear cleaning less stressful for my kitten?
Start slowly and gradually acclimate your kitten to having their ears handled. Use positive reinforcement, such as treats and praise, to create a positive association with ear cleaning. Be gentle and patient throughout the process.
What if my kitten resists ear cleaning?
If your kitten resists ear cleaning, try wrapping them in a towel to restrict their movement. Have someone assist you if needed. If the resistance is severe, consult with your veterinarian for alternative strategies or sedation options.
Conclusion
Proper ear cleaning is a vital aspect of responsible kitten care. By understanding the importance of ear hygiene, using the right supplies, and following a gentle technique, you can help prevent ear infections and other ear-related problems. Consistent attention to ear health, combined with regular veterinary check-ups, is essential for ensuring a happy, healthy life for your kitten. Remember to be patient, gentle, and rewarding during ear cleaning sessions to make it a positive experience for both you and your beloved feline companion. Maintaining cleanliness is key to a happy and healthy kitten.